I was talking with a friend about sewing tips and remembered a favorite. Some years ago when my kids were younger, they would always kick off the top sheet of the bed. My daughter to the extent that we eventually stopped putting a top sheet on her bed. In the summer, she wanted that one sheet to cover up with (a blanket was too warm) so I needed to solve the problem. I took the sheets to my sewing machine and sewed the top sheet to the fitted sheet at the bottom and made it impossible to kick off the sheet.
A side benefit of this new attached sheet arrangement was how easy it was to make the bed. Now when the bottom sheet was on, the top sheet was there, centered, and in the correct position and only the sides needed tucking in.
My bed is Cal King, and if you have a bed this size, you have probably started to put the fitted sheet on only to discover it was a 1/4 turn off and had to rotate and re-place the sheet. I also found that when I tucked in enough topsheet on my thick mattress, that I was short sheeted at the top. Off to the machine again to sew together the top and fitted sheet. Now I have extra length in the top sheet, always know which is the bottom end of the fitted sheet, and bed making is quick and easy.
I promptly sewed together every sheet set in my house and everyone loves it!
How to attach the top sheet to the bottom sheet:
Find the bottom edge of your fitted sheet.
Mark the center of the fitted sheet bottom hem (1/2 way between the darts at the lower corners of the sheet)
Find the bottom edge of your top (flat) sheet.
Mark the center of the bottom edge of your top sheet.
Match the centers of the top and fitted sheet and pin.
Stretch the elastic in the fitted sheet until it is flat and match to the top sheet (there will be more width in the top sheet, just take the stretched, fitted sheet as far as it will go)
If you are sewing a larger bed size, you may want to pin again 1/2 way between the corner dart and the center mark (while stretching flat).
Sew the top sheet to the bottom sheet (while stretching the elastic flat) right above the elastic. You can use a straight stitch.
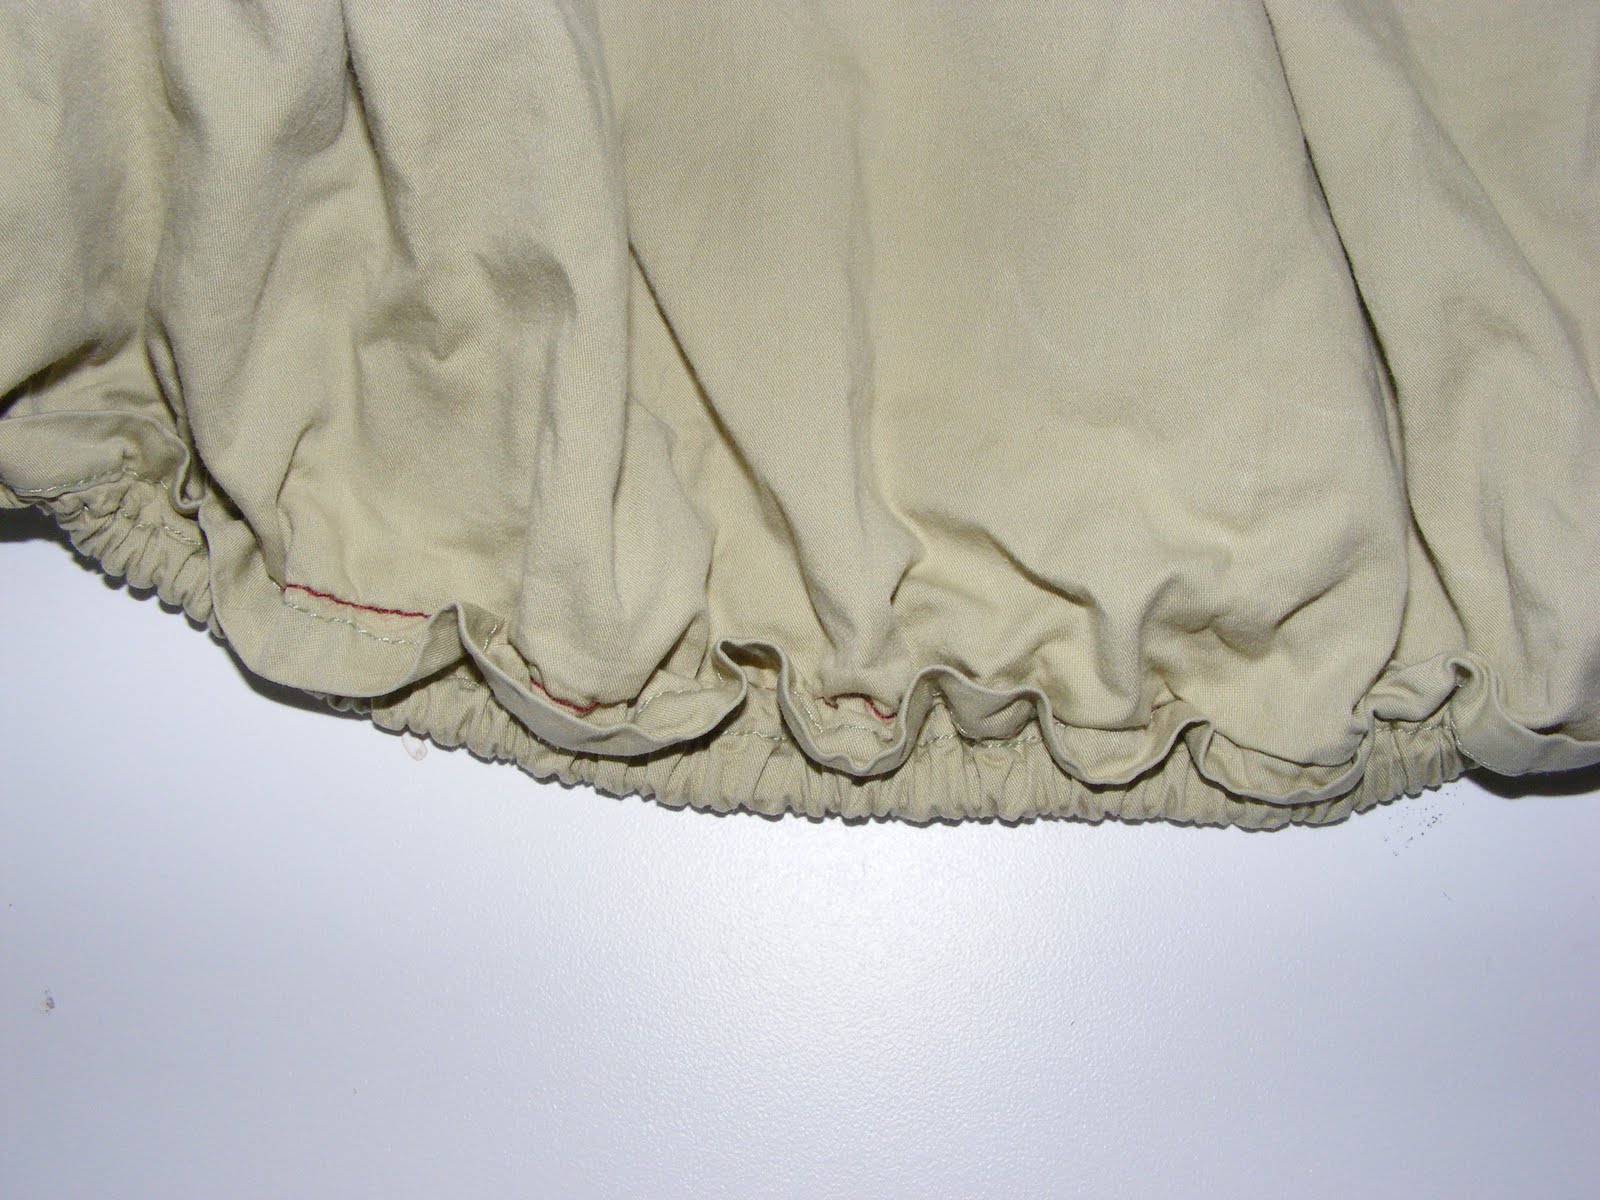
When you finish, the sheet will look like this.
When you put the sheet on the bed, the elastic will be stretched out flat and the topsheet will flatten out with it. So easy, but so convenient.
Do you have any cool tips like this? I would love to hear from you!
Happy Stitching!
Gail